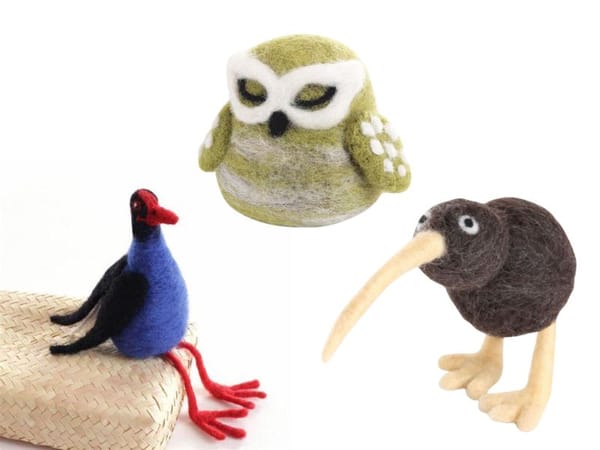
Needle felting is a craft that transforms wool into 3D objects, flat pieces, or embellishments on fabric.
It involves using barbed needles to interlock wool fibers.
The key to successful needle felting lies in mastering how tight the wool should be felted.
This guide will walk you through the steps and techniques to achieve the perfect firmness in your felting projects.
Key Takeaways:
- Optimal Density: Understanding the ideal tightness for different felting wool projects ensures durability and aesthetic appeal.
- Technique Matters: The proper use of felting needles and wool types can significantly affect the felting outcome.
- Practice Makes Perfect: Regular practice and experimenting with various densities can enhance your needle felt skills.
Understanding the Basics of Needle Felting Wool
Needle felting starts with choosing the right materials. The primary material is felting wool, typically merino wool or coarse wool.
Felting needles come in varying numbers of barbs and sizes, influencing how the wool interlocks. A felting pad supports the wool as you work.
The basic shape of your project, whether a ball shape or a flat piece, determines how you manipulate the wool.
Starting your needle felt project with a loosely rolled core shape made from core wool, you gradually add more wool, ensuring each layer is evenly felted.

The Role of Wool Type in Felting Density
Different types of wool have varying properties.
Merino wool, known for its softness, felts smoothly but may require more attention to avoid a too-soft finish.
Coarse wool, by comparison, felts more quickly and offers a sturdier result, ideal for sculptural projects.
Choosing the right wool for your needle felt project is crucial.
For beginners, a needle felting kit can provide the appropriate types of wool and needles to start with. These kits often include instructions tailored to help novice felters create their first projects with the recommended density. These kits are ideal for getting a handle on your felting technique.

Needle Choices and Their Impact
The selection of felting needles affects how tightly the wool fibers mesh.
- Fine needles are better for detail work and lighter felting, ideal for creating a nice smooth finish without over-felting the surface.
- Coarser needles work faster, suitable for initial shaping and working with thicker layers of wool.
Using the same needle throughout the entire process can lead to uneven felting.
Instead, start with a coarser needle to shape the basic form and switch to finer needles for surface details and finishing touches.

Exploring Wet Felting Versus Needle Felting
Wet felting and needle felting might seem like distant cousins in the crafting family, but they share more DNA than you might think.
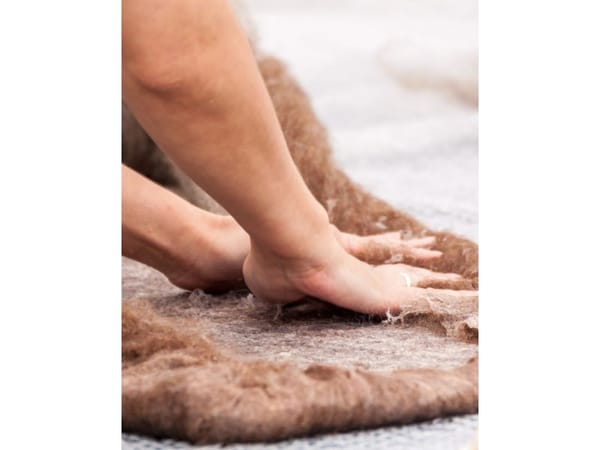
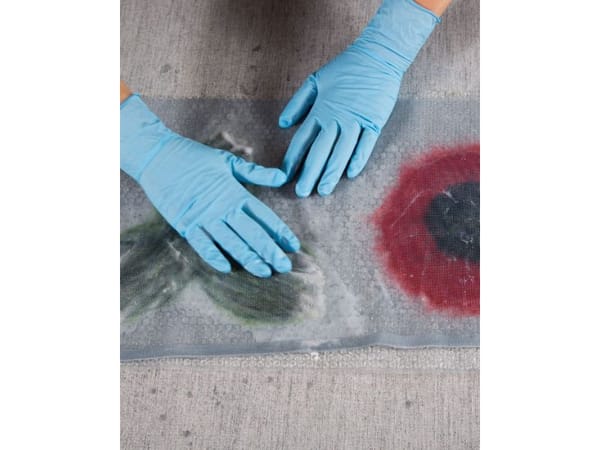
- Wet felting involves using warm, soapy water to mesh wool fibers together - a process that's both soothing, and a bit messy. It's perfect for larger projects like rugs or scarves.
- On the flip side, needle felting uses a felting needle to agitate the wool fibers, allowing for detailed and sculptural work. The needle felt technique is ideal for adding fine details to characters or creating intricate patterns on smaller pieces.
While needle felting offers precision, wet felting is all about embracing the unpredictable flow of water and wool.
If you're looking to start with something fun and less structured, wet felting might just be your gateway into the world of wool felting.
However, for those who love control and detail, picking up a felting needle and some wool roving could be the start of a detailed crafting journey.
Both techniques provide a satisfying tactile experience, but the choice between them often depends on the project at hand and the temperament of the felter.
Creative Applications of Felting Techniques
Felting isn't just about making cute animals or cozy hats; it's a gateway to a world of creative expression.
For instance, combining needle felting with wet felting can yield surprising and delightful results.
Imagine starting with a wet-felted base and then adding fine, needle-felted details such as a tail or whiskers to a character. This hybrid technique allows the experienced felter to play with texture and depth in exciting new ways.
Moreover, felting can extend beyond wool into other fibers like yarn or even incorporate non-fibrous elements.
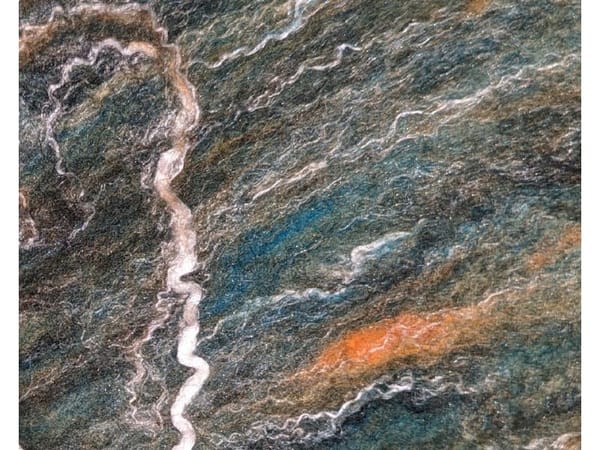
Some artists use felting techniques to bind together different materials, creating mixed-media art pieces that challenge our perceptions of textile art.
Whether rolling fibers with your fingers to form a dense body or lightly felting layers to add a soft, ethereal quality to your work, the possibilities are as boundless as your imagination.
So, grab your felting needle or dive into some wet felting and let the fun begin!

Techniques for Achieving the Right Tightness
The felting process involves repeatedly stabbing the wool with your needle, which tangles the fibers more tightly together.
The angle and depth of your stabs, along with the amount of wool you work with, play significant roles in how tight your finished piece will be.
For consistent results, a needle felter should stab the wool at the same angle and depth throughout the process. This uniformity helps in achieving a nice even shape without over-compacting the fibers, which can make the wool too hard and less appealing.
Common Mistakes to Avoid
- One common mistake beginner needle felters make is using too much wool from the start. This can make the felting process longer and more difficult, and often leads to a lumpy or uneven finished piece.
Instead, start with a thin layer of wool and gradually build up the density.
- Another mistake is felting too loosely, hoping to achieve softness. This often results in a fragile piece that falls apart easily.
The goal is to find a balance where the piece is firm enough to hold its shape while retaining some softness.
Advanced Tips for Experienced Felters
For those who love needle felting and have moved beyond beginner projects, experimenting with varying densities can be highly addictive and rewarding.
Creating different textures, from very tight, hard pieces to softer, more pliable ones, allows for a wide range of artistic expression.
Experienced felters can also play with mixing different types of wool in one project. This can create interesting effects and textures, enhancing the visual and tactile quality of the finished piece.
Wrapping Up
Achieving the right tightness in needle felting is crucial for creating durable and attractive pieces.
Whether you're working on a small, detailed project or a larger, more sculptural piece, the density of your felting can make all the difference.
Remember to choose the right materials, use appropriate techniques, and most importantly, practice regularly.
With time and experience, you'll be able to feel by touch how tight your felting should be.
Happy Felting!

Q: How do I know if I've felted my piece enough?
A: A fully felted piece should feel firm and dense, with the fibers tightly interlocked. It should hold its shape well and not easily pull apart.
Q: Can I fix a piece that's been felted too loosely?
A: Yes, you can continue felting a piece that's too loose by adding more wool if necessary and continuing to stab with your needle until the desired firmness is achieved.
Q: What's the best way to practice needle felting for beginners?
A: Start with simple shapes like balls or flat pieces or use needle felting kits for beginners. Focus on getting a feel for how much wool to use and how firmly to felt. As you gain confidence, you can move on to more complex projects.


Images Source: Canva

