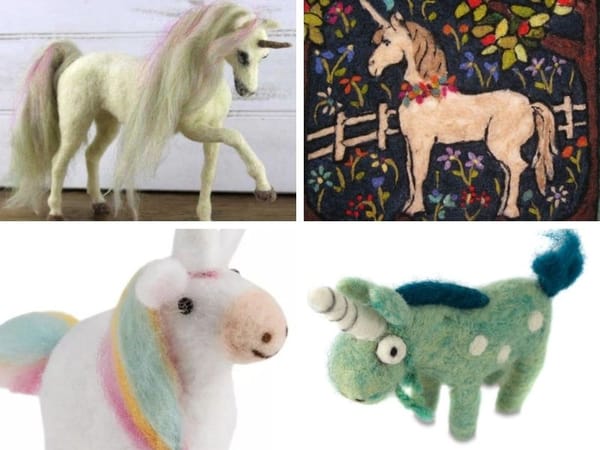
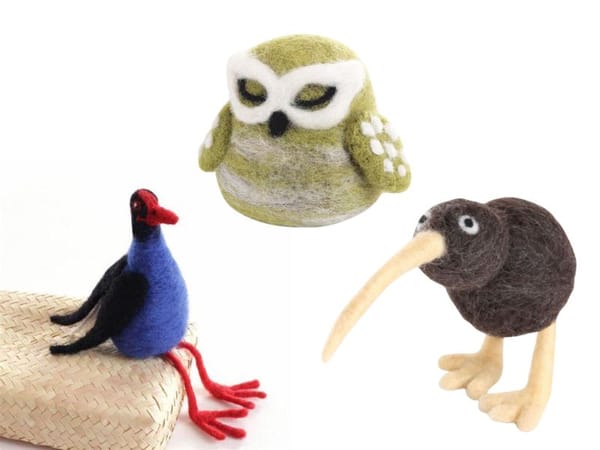
Wet felting with merino wool is an ancient craft that transforms wool fibers into a dense, durable fabric.
It's a process that can be both meditative and creative, perfect for crafters looking to explore the world of wool felting.
If you're a beginner wet felter, merino wool is an excellent choice due to its fine, soft nature, which felts easily and produces a smooth finish.
This comprehensive guide will walk you through the basics of how to use merino wool for your first wet felting project.
Key Takeaways:
- Understand the basics of the wet felting process using merino wool.
- Learn how to lay out wool fibers and use tools like bubble wrap for wet felting (and needles for needle felting).
- Discover tips for creating a successful wet felted piece, from choosing the right wool to the fulling process.
Understanding Merino Wool
Merino wool comes from the Merino sheep, a breed that originated in Spain and is now prevalent in several other countries like Argentina and New Zealand.
This fine wool is known for its softness, warmth, and breathability, making it ideal for wet felting.
For needle felting or wet felting beginners, merino wool is forgiving and easy to work with, allowing you to create beautiful wool pieces with a luxurious feel.
Choosing the Right Wool
When starting your felting journey, it's crucial to select the best wool for your project.

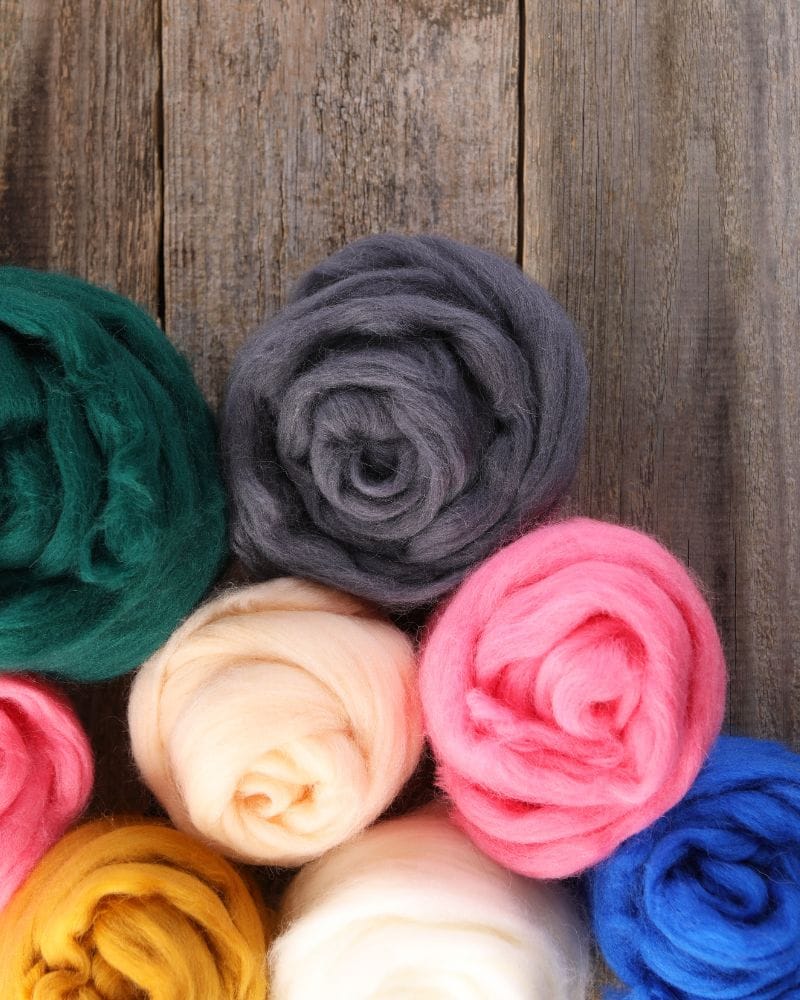
Merino wool is available in different textures and colors. Dyed wool can add vibrant hues to your work, while natural shades offer a more organic look.
Fine wool is typically easier to felt than coarse wool, and carded wool can save you time as it's already prepared for felting.
Preparing Your Workspace
Before you begin your wet felting wool project, set up a clean, flat surface to work on.
- Cover your table with a towel or fabric to absorb excess water. You may want to consider a covering of thin sheet plastic directly on your workspace.
Gather all your materials:
- merino wool roving
- bubble wrap or bamboo mat
- a spray bottle filled with soapy water (easiest to use while you're beginning)
- and felting needles for fine details (optional)
- Rubber or plastic gloves (optional)

Having everything within reach will streamline the whole process.
Laying Out the Wool Fibers
Start by gently pulling apart your merino wool roving into small sections.
- Lay these individual strands out on the bubble wrap, arranging them in the same direction for the first layer.
- For the second layer, place the wool in the opposite direction. This crisscross pattern ensures a strong fabric structure.

The Wet Felting Process
Once your layers are arranged, sprinkle water evenly across the wool using your spray bottle.
The soapy water helps the wool fibers to bond together.
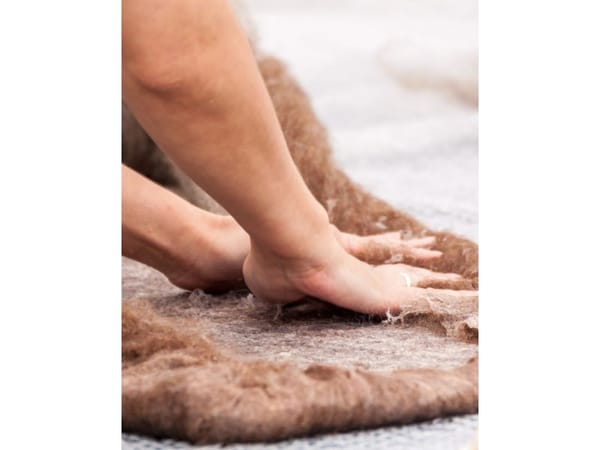
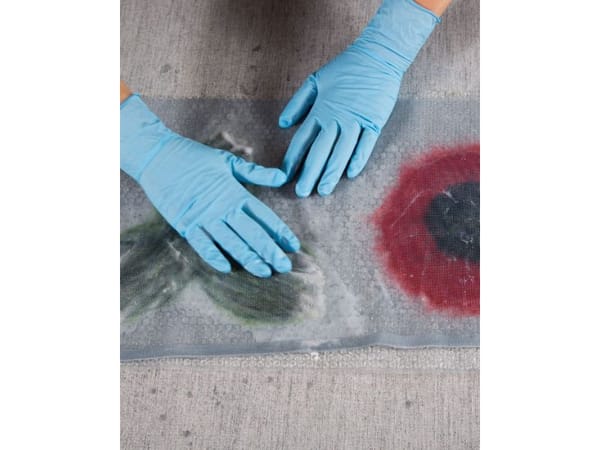
Gently rub the surface with your hands (I find this just creates a mess (for me) - if you don't use enough water the wool will stick to your hands and ruin your layout) or rub the felting wool with a piece of bubble wrap (or use a thin plastic sheet) to encourage the fibers to interlock (I use this method).
Be patient; this step is crucial for achieving a solid piece of felt.
Rolling and Fulling
After the wool fibres have started to bind (you can carefully lift the bubble wrap to check), it's now time for rolling.

Adjust the bubble wrap if needed and using a pool noodle or rolling pin or dowel, carefully roll (your bubble-wrapped wool sandwich) onto the pool noodle.
You will now have:
- bottom layer of bubble wrap
- your wool layout
- top layer of bubble wrap (or thin plastic sheet)
- Pool noodle (or similar rolling device)
Carefully wrap all layers around the pool noodle as if you're rolling a burrito.
Continue rolling, applying even pressure to help the fibers mesh together.
The fulling process involves throwing or agitating the felt to shrink and toughen the fabric. This step can take some time, is done after the wool felting process is completed, but it's essential for a firm finish.
Rinsing and Drying
Once you're satisfied with the felting:
- Rinse your creation in cold water to remove any soap residue.
- Then, rinse in warm water to help the fibers relax.
- At this stage, I like to restore the wools' Ph balance. Because soap is alkaline, I like to add a little white vinegar to the final rinse water and let it soak - usually while I'm cleaning up my work area, then I rinse my piece of finished felt again to neutralize the odor.
- The next step is to very gently squeeze out the excess water - do not wring then lay your felt flat to air dry.
Avoid direct heat or sunlight to prevent uneven drying or shrinkage.
Felting Needle Mastery
Felting needles are the unsung heroes of the needle felting world.
These specialized tools come in various sizes and shapes, each designed for a specific purpose.

For beginners, it's essential to understand that the felting needle is not just a tool but an extension of your creative intent.
When you start, choose a medium gauge needle; it's versatile and forgiving.
As you poke (needle felting) the wool, the barbs on the needle entangle the wool fibers, creating a firm, sculpted fabric.
Remember to poke vertically to avoid breaking your needle and to gently pull it out to prevent pulling the fibers out.
In some needle felting kits, you might find needles labeled as 'star' or 'twist' - these refer to the shape of the barbs.
A star needle has more barbs, which means it felts faster, while a twist needle can help with finer details.
When needle felting with core wool, which forms the base shape of your project, use a coarser needle to speed up the felting process.
As you add the top layer of the same wool or different colors, switch to a finer needle to achieve a smooth surface.
It's all about the right tool for the right job, and with practice, you'll be wielding your felting needle like a pro in no time.
Incorporating Color in Your Felting Projects
When diving into the world of felting for beginners, the use of color can transform your creations from simple to spectacular.
Merino wool comes in a dazzling array of hues, allowing you to experiment with color theory and design.
Start with a basic palette and gradually introduce more shades as you gain confidence.

Consider the emotions you want to evoke with your piece, as colors can significantly impact the viewer's perception. A harmonious color scheme can create a sense of calm, while contrasting colors might convey excitement or drama.
Incorporating color into your needle felting projects isn't just about aesthetics; it's also a fantastic way to express your individuality.
Try blending different colors of wool before you start needle felting to achieve unique gradients and subtle transitions. This needle felting technique can add depth and realism to your work, especially when creating natural scenes or lifelike animals.
Remember, the beauty of needle felting is that you can always add more wool if you want to adjust the colors, so don't be afraid to experiment and play with combinations until you find the perfect palette for your project.
Designing 3D Shapes and Figures
One of the joys of needle felting for beginners is the ability to create three-dimensional shapes and figures with just wool and a felting needle.
Start with simple shapes like spheres and cylinders to build your confidence.
These basic forms can be the foundation for more complex needle felting figures such as animals, flowers, or even abstract sculptures. Pay attention to the firmness of your felt as you work; a denser felt will hold its shape better and provide a sturdy base for additional details.

As you become more comfortable with creating 3D forms, challenge yourself by constructing figures with moving parts or intricate features.
For instance, you could needle felt a posable animal with bendable limbs or a character with expressive facial features.
The key is to build your shapes gradually, adding small amounts of wool at a time and consistently felting to ensure even density.
With practice, you'll be able to bring even the most imaginative designs to life, giving them character and movement that flat felting simply can't achieve.
Creative Layering Techniques
Layering is a fundamental technique in wet felting that can dramatically affect the texture and look of your final piece.
Start with two layers of wool fibers, laying them perpendicular to each other. This cross-layering ensures strength and uniformity in your felted fabric.
For beginners, it makes sense to use a New Zealand breed of wool, like Merino, which is fine and felts easily.
Lay down your base layer thinly and evenly; this will be the foundation upon which you build the rest of your project. The top layer is where you can get creative with colors and patterns but remember to lay this out just as carefully to avoid thick spots or holes.
When adding silk or other fabrics to your project, the technique slightly changes.

Place the fabric on top of your base wool layer and then add a thin layer of wool fibers over it. The wool acts as a glue, meshing with the fabric in just a few seconds of felting.
This method creates a beautiful, textured effect that can add depth and interest to your work.
Experiment with different fabrics and wool types to see how they interact. Sometimes, the most unexpected combinations can yield the most stunning results.
Just remember, the key to successful layering is patience and a gentle touch.
Adding Silk and Other Fabrics
For those looking to add more texture and visual interest, incorporating silk or other fabrics into your wet felting project can create stunning results.
The process, known as Nuno felting, involves felting wool onto a sheer fabric like silk, resulting in a beautiful, lightweight material perfect for scarves and other delicate items.
Needle Felting for Details
Needle felting wool can be used to add fine details to your wet felted piece.
Using felting needles, you can sculpt and define shapes, attach additional pieces of wool, or create intricate designs.

This technique of needle felting wool is often used in conjunction with wet felting to achieve more complex and detailed works of art.
Experimenting with Different Wools
As you become more comfortable with merino wool, you may want to explore all the different wools available.
Each type of wool has unique properties and will behave differently during the felting process.
Experimenting with a mix of fine and coarse wools can yield interesting textures and effects in your projects.
Troubleshooting Common Issues
If you encounter problems like uneven thickness or holes, don't be discouraged.
These issues are common for beginners.
Adding more wool to thin areas or using needle felting to repair holes can easily fix these problems.
Remember, felting is a forgiving craft, and mistakes can often be corrected with a little patience and creativity.
Caring for Your Felted Items
Proper care will ensure your wet-felted items last a long time.
Handwash your felted creations in cold water with a gentle detergent and lay them flat to dry.
Avoid machine washing and drying, as the agitation and heat can cause further felting or damage your piece.
Advanced Techniques
Once you've mastered the basics, you can explore advanced wet felting techniques like creating three-dimensional objects, incorporating different processes like resist felting, or working with long lengths of wool to make larger items.

The possibilities are endless, and each new technique will add to your skill set.
Joining a Felting Community
Engaging with other needle felters and wet felters can provide support, inspiration, and advice.
Join online forums, attend workshops, or participate in craft fairs to connect with fellow enthusiasts.
Sharing your felting journey with others can be incredibly rewarding and informative.
Wrapping Up
Wet felting with merino wool is a delightful craft that allows for endless creativity.
By following these steps and tips, beginner wet felters can start their journey with confidence.
Remember to choose the right type of merino wool, prepare your workspace, lay out the wool fibers correctly, and be patient through the entire process of wet felting.
With practice, you'll be able to create beautiful, handcrafted items that showcase the unique qualities of merino wool.

Q: How much merino wool do I need for a wet felting project?
A: The amount of merino wool you need will depend on the size and thickness of the project you're planning. As a beginner, it's a good idea to start with small pieces to get a feel for the material and the process.
Q: Can I mix merino wool with other types of wool for wet felting?
A: Yes, you can mix merino wool with other types of wool to create different textures and effects. However, it's important to understand how each type of wool felts so you can anticipate how they will work together.
Q: How long does it take for a wet felted item to dry?
A: Drying times can vary depending on the thickness of the felt and the humidity in your environment. It's best to allow your felted item to air dry completely, which can take anywhere from several hours to a couple of days.


Images Source: Canva

