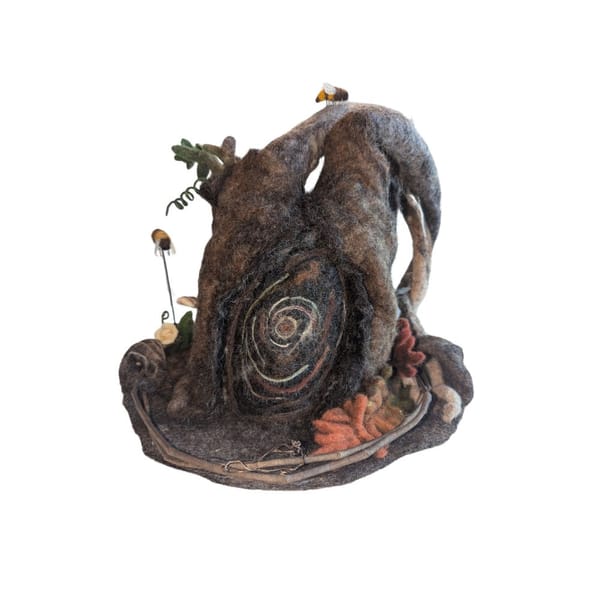
Felting is an ancient craft that has been practiced for centuries, creating everything from sturdy tents to delicate scarves.
Among the various felting methods, wet felting is a popular technique that involves matting and compressing fibers together.
But is wet felting difficult?
In my opinion, wet felting is not difficult in theory, however the practice of wet felting does have its challenges.
This comprehensive guide will explore the intricacies of wet felting and provide you with the knowledge to tackle your felting projects with confidence.
Key Takeaways:
- Wet felting is a versatile craft that can be learned with practice and patience.
- Understanding the materials and steps involved is crucial for successful wet felting.
- There are many resources and communities available to help beginners improve their wet felting skills.

Understanding Wet Felting
Wet felting is a process that uses water, soap, and agitation to fuse wool fibers together. Unlike needle felting, which uses barbed needles to interlock wool fibers by repeatedly stabbing them, wet felting relies on the natural scales on wool fibers to tangle and bind together when moistened and rubbed. This method can be used to create flat pieces of felt for various applications or to sculpt wool into three-dimensional objects.

The Basic Materials You'll Need
To start felting, you’ll need a few essential materials. Wool roving or wool fiber is the primary material used in wet felting. You’ll also need warm soapy water to wet the wool and facilitate the felting process. Tools such as bubble wrap, a pool noodle, or packing foam can serve as a work surface or rolling pin to help agitate the wool. Additionally, having more soap on hand can provide a better grip and help the fibers to felt more efficiently.
For needle felting, core wool is often used to create the inner core of 3D sculptures, making them sturdy and smooth.
Preparing Your Wool Fibers
Before you begin wet felting, it's important to prepare your wool. Lay out your wool roving in thin layers, overlapping each layer in a different direction. Typically, three layers are sufficient to create a sturdy piece of felt. Ensure that your layers are even and cover the desired area to the correct size, accounting for shrinkage rates that occur during felting.

Layering Techniques for Success
The way you layer your wool can significantly impact the final product. Start with the first layer running in one direction, then add a second layer running perpendicular to the first. The third layer should mimic the direction of the first. This crisscross pattern helps to ensure an even felt and prevents weak spots in your finished piece.

The Wet Felting Process Explained
Once your wool is layered, it’s time to begin the wet felting process. Start by wetting the wool with warm soapy water. The water should be hot but not scalding, as extreme temperatures can cause the wool to felt too quickly and unevenly.
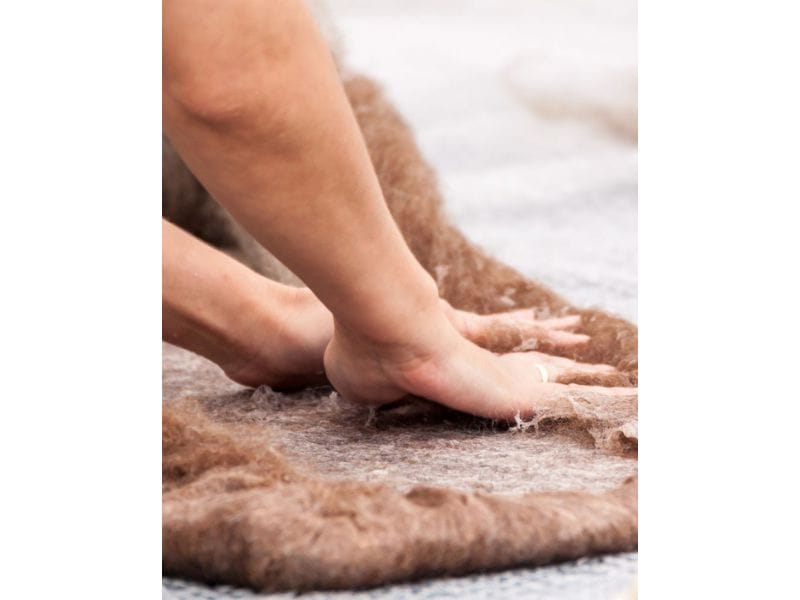
Gently press down on the wool to ensure it’s fully saturated, then begin to rub the surface with gentle, even pressure. This process will transform the wool fibers into felted wool.

Agitation: The Key to Felting
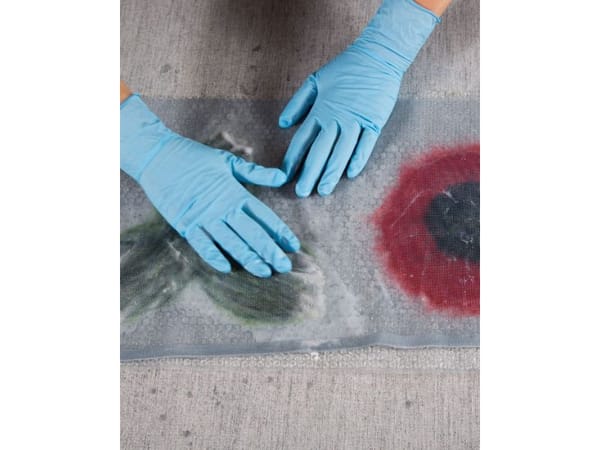
Agitation is what causes the wool fibers to lock together, and form felt. You can use your hands, bubble wrap, or other tools to rub and roll the wool. Be consistent with your movements, applying pressure in the same direction to encourage the fibers to bond. As the wool begins to felt, you can increase the pressure and use more aggressive forms of agitation to achieve a smoother finish.
Note: do not apply to much pressure or press down too hard on the wool too soon as it can rip and create holes in your project.
Nuno Felting: A Variation of Wet Felting
Nuno felting is a variation of wet felting that incorporates fabric into the felting process. The Nuno felting technique allows for the creation of lightweight and drapey textiles, perfect for scarves and other wearable items. To Nuno felt, lay out a thin layer of wool onto a piece of fabric, such as silk or muslin, and follow the same wet felting method.

Combining Wool and Fabric
When combining wool and fabric in Nuno felting, it's important to consider the fabric's texture and how it will interact with the wool. Fabrics with a loose weave allow the wool fibers to penetrate more easily, creating a strong bond. Nuno felting can be more time-consuming than traditional wet felting due to the care needed to ensure the wool and fabric felt together properly.
Note: My Nuno felting projects always take a little longer than wet felting.
Wet Felting Techniques: Exploring the Possibilities
Wet felting techniques are as varied as the artists who use them, offering a canvas for creativity and personal expression.
The popular method of laying out the felting wool in thin, even layers before wetting and agitating it ensures that the wool shrinks uniformly, creating a smooth and consistent texture. Experimenting with different layering patterns can lead to unique textures and designs, making each wet-felt project a testament to the maker's ingenuity and skill.
(Multi-needle tools, such as the Clover Needle Felting Pen Style Tool, are essential for needle felting. These tools have needle holes set at the perfect distance for a great finish and offer a removable nib for both needle sculpture and two-dimensional needle felting.)

In addition to layering, incorporating needle felting into a wet felt project can add fine details and embellishments to your work. This hybrid method, combining both wet felting and needle felting, allows for precise control over the final piece. Artists often use felting needles to add intricate patterns or to attach separate elements to the main body of the work. This technique requires patience, as it can be time-consuming, but the ability to refine your piece multiple times results in a truly bespoke creation.
Note: Needle felting is more forgiving than wet felting if you make a mistake. When needle felting you can always add or take away wool whereas you cannot in wet felting.
The Science of Shrinkage: Understanding Wool Behavior
When embarking on wet felting projects, it's crucial to understand how wool shrinks during the felting process. Different types of wool have varying shrinkage rates, which can significantly affect the size and shape of the finished product. For instance, fine wool like Merino may shrink more than a coarser wool. To achieve consistent results, it's advisable to create a sample piece or a pre-felt to gauge how much your specific wool wet felts.

Moreover, the temperature of the water and the amount of agitation can also influence the degree of shrinkage. Hot water and vigorous agitation will typically cause the wool to felt more quickly and shrink more extensively. This is an essential consideration for both wet felting and needle felting projects, as it can impact the density and durability of the wool felt. By understanding these factors, crafters can better predict the outcome of their other projects and ensure a professional finish every time.
Note: When I first started Nuno felting, I made the mistake of adding too much hot water, and the wool felted in clumps to itself before it had a chance to adhere to the fabric piece. 😕
Troubleshooting Common Wet Felting Issues
Even experienced felters can encounter issues during the wet felting process. If your wool isn't felting properly, it may be due to insufficient agitation or not enough soap and water. Make sure the wool is fully saturated and that you're applying enough pressure during the agitation phase. Adjusting these factors can often resolve felting difficulties.
Note: Don't be afraid to use water. Here too, I worked harder than I needed to due to insufficient water and soap. I will say however that you can agitate wet felted projects more so than embellished or Nuno felting projects. You don't want your embellishments to travel or the wool to clump onto your silk or split due to applying too much force.
When Felting Goes Wrong
If you find that your felt is too loose or has holes, you may need to add more wool and continue the felting process. On the other hand, if the felt is too thick or stiff, you may have used too much wool or felted for too long. Learning the right balance of materials and timing comes with practice and experience.
Finishing Your Wet Felted Projects
After your wool has fully felted, rinse it in cold water to remove any excess soap and to help set the felt. Gently squeeze out the water without wringing, which can distort the shape. Lay the felt flat to dry on a suitable surface. Once dry, your wet felted item is ready for use or further embellishment by needle felting or sewing.

Achieving a Professional Look
For a professional finish, trim any uneven edges or loose fibers. You can also iron the felt on a wool setting to create a smoother surface. If your project requires a specific shape or size, consider using a template or resist during the felting process to guide the wool as it shrinks.
Expanding Your Felting Skills
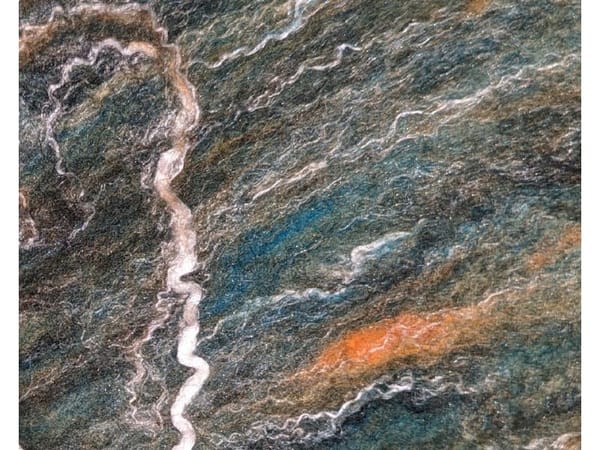
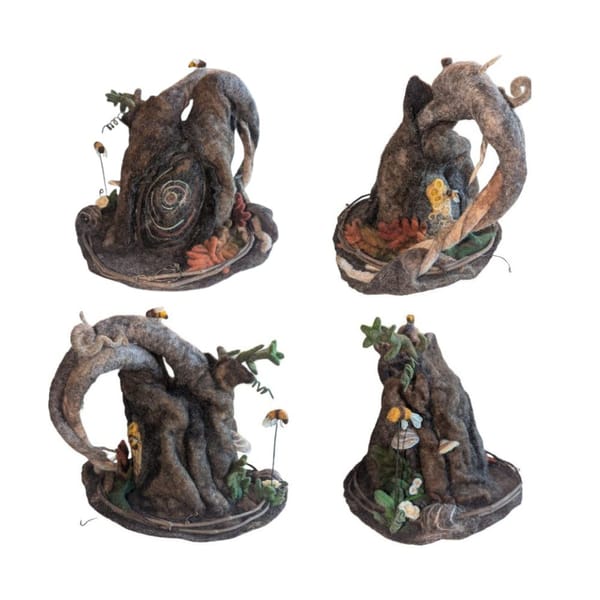
As you become more comfortable with the wet felting process, you can experiment with different shapes, textures, and techniques. Try incorporating yarn, fabric scraps, or other fibers into your felting projects to add color and interest. Wet felting can be used to create wool paintings, wool sculptures, and even wearable art.
(Expanding Your Needle Felting Journey - Beginners should start with basic shapes, like balls, to build confidence and familiarity with the craft before moving on to more complex projects.)
Exploring Advanced Techniques
For those looking to take their felting to the next level, exploring advanced techniques such as sculptural felting or creating complex patterns can be rewarding. Joining a felting community or taking a workshop can provide valuable insights and inspiration for your felting journey.
Wet felting and needle felting are fun and rewarding crafts that offer relaxation and satisfaction.
Resources for Wet Felting Enthusiasts
There are numerous resources available for those interested in wet felting (as well as needle felting). Online tutorials, books, and felting kits can provide guidance and materials for beginners. Additionally, local craft groups and online communities offer support and advice from fellow felters. Beginners can start their wet felting, and needle felting journey with these tutorials and resources.
Finding Inspiration and Support
Whether you're looking for project ideas or troubleshooting tips, the felting community is a welcoming place. Social media platforms, forums, and blogs are great places to connect with other enthusiasts, share your work, and find inspiration for your next felting project.
Wrapping Up
Wet felting is a craft that can be both rewarding and challenging.
While it may seem daunting at first, with the right materials, techniques, and a bit of patience, anyone can learn to create beautiful wet felted items.
Remember to prepare your wool carefully, use the correct amount of soap and water, and apply consistent agitation.
Troubleshoot any issues by adjusting your process, and don't be afraid to experiment with different felting methods such as needle felting and materials. With practice, wet felting can become an enjoyable and fulfilling hobby.
Happy felting!

Q: How long does it take to wet felt a project?
A: The time it takes to wet felt a project can vary greatly depending on the size and complexity of the item. Smaller projects may only take a few hours, while larger or more detailed pieces can take multiple sessions over several days.
Q: Can I use any type of wool for wet felting?
A: While most animal fibers can be used for wet felting, wool is the most common choice due to its natural felting properties. Some wools felt more easily than others, so it's important to choose a wool that is suitable for your specific project.
Q: Is wet felting suitable for children?
A: Yes, wet felting and Nuno felting can be a fun and safe craft for children under supervision. It's a tactile process that allows for creativity and can be a great way to introduce kids to the world of fiber arts. However, care should be taken with hot water and any sharp tools such as felting needles that may be used. I have stabbed myself several times when needle felting.


Images Source: Canva

