Key Takeaways:
- Understanding the Basics: Learn exactly what a reverse felting needle is and how it differs from regular felting needles.
- Techniques and Tips: Discover the specific techniques for using reverse felting needles to enhance your needle felting projects.
- Choosing the Right Tool: Gain insights on selecting the right felting needles for different felting tasks to achieve the best results.
Introduction to Reverse Felting Needles
Have you ever stumbled upon a tool that seemed to defy the usual expectations?
That's precisely what a reverse felting needle does in the world of crafting.
Unlike its more common counterparts, the reverse felting needle, or reverse needle, is designed with barbs that point in the opposite direction compared to a regular felting needle.
This unique "opposite direction" feature allows it to pull fibers out instead of pushing them in, creating fascinating effects and textures in needle felted projects.
The reverse felting needle is a game-changer for those who love to add intricate details and dynamic textures to their creations.
Whether you're working on needle felted animals or other decorative items, understanding how to use this tool can elevate your crafting skills.

The Anatomy of a Reverse Felting Needle
At first glance, a reverse felting needle looks quite similar to regular felting needles.
However, the devil is in the details - or in this case, the direction of the notches.
On a reverse needle the notches face upwards, towards the handle, which is the opposite of what you see on standard needles. This design is crucial because it enables the needle to grab and pull fibers towards the surface of the felted piece, rather than embedding them deeper into the wool.
They are typically a medium gauge needle, which offers a good balance between strength and delicacy, making them suitable for a variety of felting projects. The shaft of the needle is sharp and can easily penetrate through layers of wool, pulling up fibers to create a textured surface.
How to Use a Reverse Felting Needle
Using a reverse felting needle is not just about poking randomly; it requires a bit of technique and a gentle hand.
Start by inserting the needle into the felted material at a slight angle. As you pull the needle out, the reverse barbs will catch the inner layers of fibers and pull them to the surface. This technique is particularly useful when you want to blend different colors on the surface or create high-relief textures.
For beginners, it's crucial to practice caution.
The barbs on the needle are sharp, and if handled carelessly, they can break or bend (or pierce your skin). Always ensure that you're pulling the needle out at the same angle you inserted it to avoid snapping it.
Exploring Medium Gauge Needles in Felting
Medium gauge needles strike a perfect balance for those who are just dipping their toes into the needle felting pool.
Unlike finer needles that are prone to breaking or heavier gauges that might be too robust for delicate work, medium gauge needles offer the resilience needed to tackle a variety of fabrics without causing undue frustration. They are the Goldilocks of felting needles, especially suitable for beginners who hope to see their creations take form without the wait that finer needles might require.
In comparison to other felting needles, medium gauge ones are versatile warriors. They can handle both the sculpting of smaller, detailed projects like a cat's whiskers and the construction of larger, more robust pieces.
This adaptability makes them a staple in any felting supplies kit.
For those starting out, a video tutorial featuring medium gauge needles can illuminate the path from novice to needle felting aficionado, showing exactly how these tools can be wielded to create art from mere fluff.

Storage Solutions for Felting Needles
Storing felting needles properly is as crucial as selecting the right needle for the job.
Without proper storage, needles can become damaged or lost, turning a crafty afternoon into a treasure hunt for the right tool.
A simple yet effective storage solution is to use a dedicated needle case or a homemade pincushion. This not only keeps your needles neatly organized but also ensures the sharp points are safely tucked away, preventing any unexpected pricks.
For those who juggle various types of needles, including twisted needles, regular felting needles, and medium gauge needles, categorizing them in separate compartments, or buying color coded needles can be a game-changer.
Labeling each section clearly helps in quickly identifying the right needle for the job at hand, saving time and frustration. Additionally, integrating similar items like thread and small scissors in the same storage unit can streamline the crafting process, keeping all necessary tools within arm's reach.
Note:- I have spent countless hours looking for the right needle - completely believing I was looking in the right place, only to find the needle I was looking for days later, and realizing it's now bent, and I have to replace it. 😖 Organization is most definitely key - for your tools and your sanity!
Here's a suggestion:- Sometimes it's difficult to identify the needle you've been using amongst similar needles (whether they're color coded or not). For example, when buying a certain gauge needle, you usually get more than one in the pack. If you'd like to just use one needle until it's worn out, putting it back in the container they came in will just get it mixed up in the bunch. For this reason, I store my needles in their containers but hold them all in a metal box. I line the bottom of the top lid with magnets which hold the needle(s) I've been using, and they don't get mixed up.

Tips for Maintaining Your Felting Needles
Maintaining your felting needles is crucial for ensuring they last long and perform well.
Always store your needles in a protective case or a cushioned box to prevent them from bending or breaking.
If you're using a multi needle tool, make sure each needle is securely fastened and replace any that show signs of wear or damage.
Regularly cleaning your needles can also prevent wool fluff from clogging the barbs, which can affect their performance. A simple wipe with a clean, dry cloth after each use should suffice.
Applications in Crafting
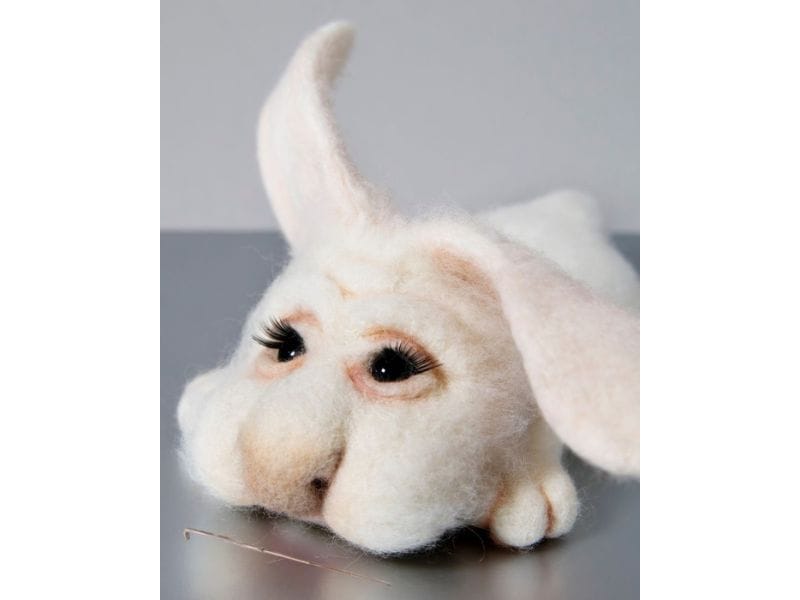
The versatility of the reverse felting needle makes it a beloved tool among crafters. It's particularly effective for adding fluffy textures to needle felted animals, making them look more lifelike.
Additionally, crafters can use this needle to work on details such as fur or hair on sculpted figures, adding realism and depth that regular needles might not achieve.
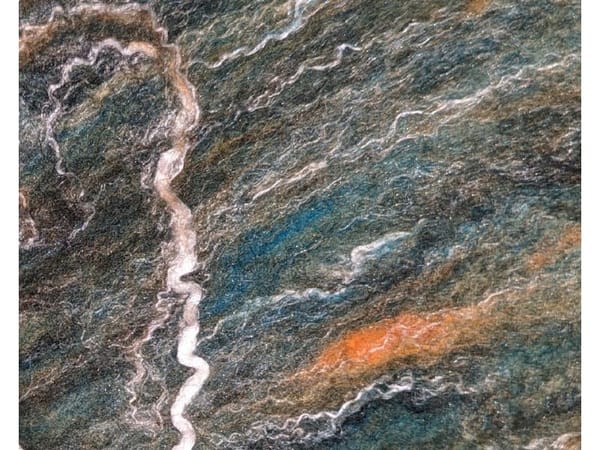
Another popular application is in creating layered color effects.
By pulling up a different color from the base layer, artists can create intricate designs and patterns that add a unique flair to their projects.
Selecting the Right Reverse Felting Needle
When looking to purchase a reverse felting needle, consider the project at hand. The thickness of the needle and the number of barbs can affect how it interacts with the wool. Most craft stores and online platforms categorize their needles by gauge and indicate whether they are reverse or regular.
Look for color coded options which can help you quickly identify the right needle from your toolbox.
Remember, the quality of the needle can greatly influence the outcome of your projects. Investing in a good quality needle ensures durability and smoother felting process.
Wrapping Up
Reverse felting needles are innovative tools that open up new possibilities in the art of needle felting.
By understanding their structure, learning the proper techniques, and choosing the right needle for your projects, you can significantly enhance the quality and creativity of your work.
Remember, the key to mastering this tool is practice and patience - happy felting!

FAQs
Q: Can reverse felting needles be used with any type of wool?
A: Yes, reverse felting needles can be used with various types of wool. However, they work best with wool that has a good crimp, as it helps the barbs grab the fibers more effectively.
Q: Are reverse felting needles suitable for beginners?
A: While beginners can use reverse felting needles, it's important to start with basic techniques and use caution due to the sharpness and the unique pulling action of the needles.
Q: How often should I replace my reverse felting needle?
A: The lifespan of a reverse felting needle depends on how frequently it is used and how well it is maintained. Replace your needle if it becomes dull, bent, or broken to ensure the best results in your felting projects.


Images Source: Canva, Michaels, and The Woolery

