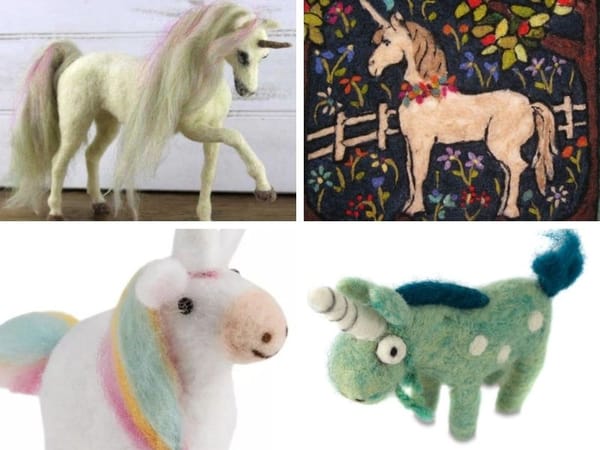
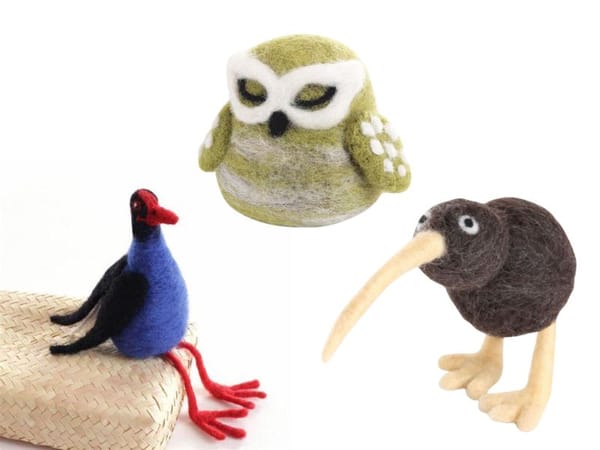
Needle felting is a craft that transforms wool into 3D objects through the repetitive action of stabbing the wool roving with a barbed needle.
The process can be quite rewarding, producing everything from simple shapes to intricate sculptures.
However, a common issue many beginners face is ending up with a fuzzy finish instead of a nice smooth surface.
This article explores the reasons behind this fuzziness and provides practical solutions to help you refine your felting technique, including insights from Fuzzy Needle Records.
Key Takeaways:
- Understanding the impact of different types of wool and needle sizes on the fuzziness of needle felted projects.
- Techniques to achieve a smoother surface in needle felting.
- Maintenance and care tips to enhance the quality of your needle felting work.

Choosing the Right Wool Roving
The type of wool you use plays a pivotal role in how fuzzy your finished piece appears.
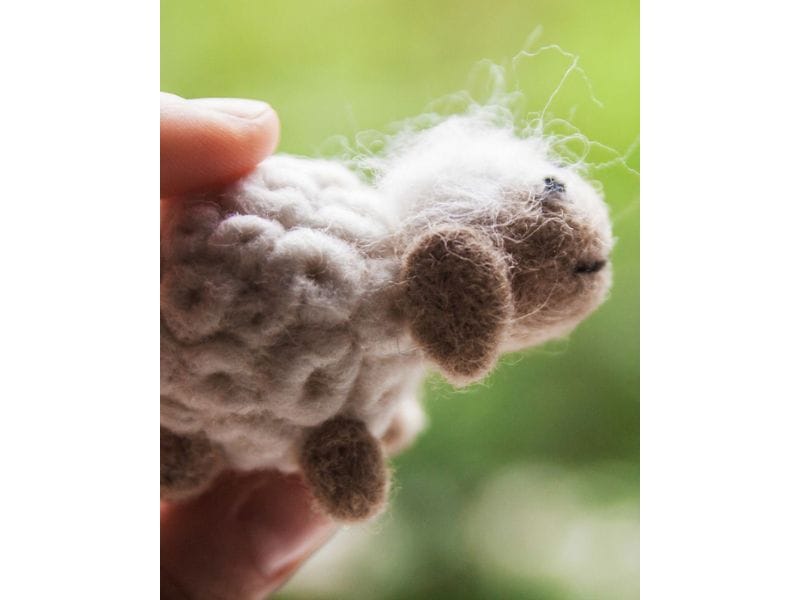
Coarser wool, such as core wool, tends to felt faster due to its larger fibers but often results in a fuzzier texture.
On the other hand, fine wool like Merino, known for its softness, can provide a smoother finish but may take a bit more time to felt thoroughly.
For needle felting beginners, starting with a medium-grade wool could be a good balance, allowing for easier handling while reducing the fuzziness.

The Impact of Needle Size
Needle size significantly affects the outcome of your needle-felt projects.
Coarse needles, which are larger and have fewer barbs, are great for working on the core shape but can disturb more fibers, leading to a fuzzier surface.
Fine needles, ideal for detail work, help in achieving a smoother surface by disturbing fewer fibers.
It's crucial to start with coarser needles for the initial shaping and switch to finer needles for surface finishing.
Needle Felting Technique Matters
How you felt can also contribute to fuzziness.
Stabbing the wool in the same direction and depth throughout the felting process helps in laying the fibers down neatly, reducing fuzziness.
Random or inconsistent felting, however, can cause the fibers to splay in different directions, increasing the likelihood of a fuzzy finish.
Consistency and patience are key to mastering the art of needle felting.

The Role of Needle Felting Mats
The surface on which you felt can influence the texture of your finished pieces.
Using a proper needle felting mat provides a stable base that allows for effective stabbing without overly disturbing the wool's surface.
Foam or brush mats are popular choices that offer the right resistance and help in achieving a smoother finish.
Managing Wool Density
Using too much wool can lead to a dense, hard piece that is difficult to shape and finish smoothly.
It's important to add wool gradually and felt it thoroughly before adding more.
This ensures that the inner layers are properly compacted and reduces the chances of a fuzzy outer layer.

Enhancing Texture with Long Fur Techniques
When diving into projects that require a more lifelike appearance, such as creating a larger animal in needle felting, incorporating long fur can be a game-changer.
This technique involves using additional lengths of wool roving, which you carefully layer and attach to your base shape.
The process is admittedly time-consuming, but the end result is a soft, realistic fur texture which makes it all worthwhile.
For those who would like to start needle felting, consider watching YouTube videos that demonstrate the step-by-step process to ensure you're on the right track for a nice smooth finish.
Working with Long Fur
To achieve the best results with long fur, it's crucial to select the right type of wool.
Carded wool is often recommended for its ease of use and ability to create volume and texture.
Begin by attaching a thin layer of wool to your felted animal, using a felting needle to secure it. From there, gradually add more wool, paying close attention to the direction of the fur.
This attention to detail will help in mimicking the natural flow of fur, enhancing the overall realism of your felted animal.
Remember, patience is key - rushing through this process can lead to tangled wool and a less than desirable outcome.

Mastering Small Details in Needle Felting
Achieving precision in smaller needle felting projects, like creating miniature animals or intricate fabric embellishments, requires a keen eye and a steady hand.
Start by using a smaller size felting needle and finer fibers of wool roving.
This allows for more detailed work without overwhelming the small scale of your project. Wrapping the wool tightly around your needle and using a stab-and-roll technique can help in forming tight, well-defined shapes.
For those new to needle felting, consider needle felting kits that come with all the necessary tools and materials, along with a video tutorial to guide you through the process.
Trimming is another critical step in refining your needle felted pieces.
After you've shaped your project, use sharp scissors to carefully trim away any excess wool, paying special attention to the edges to create a clean, defined outline.
This can be particularly important when working on needle felt projects that involve intricate details or require a smooth finish, like fabric appliqués or small decorative animals.
Additionally, using a bit of glue to secure loose ends or delicate parts can ensure that your creation holds together well, even if it's handled frequently.
Regular Needle Maintenance and Fuzzy Needle Records
Dull or damaged felting needles can snag fibers instead of neatly entangling them, increasing fuzziness.
Regularly checking your needles for any signs of wear and replacing them as needed can make a significant difference in the quality of your needle felt projects.
Humidity and Wool Condition in NC
The condition of the wool and the environment in which you felt can also affect fuzziness.
Wool that is too dry or stored in low humidity conditions can become brittle and prone to fuzzing.
Lightly misting your wool with water or using a humidifier in your crafting area can help maintain the fiber's elasticity.

Finishing Techniques
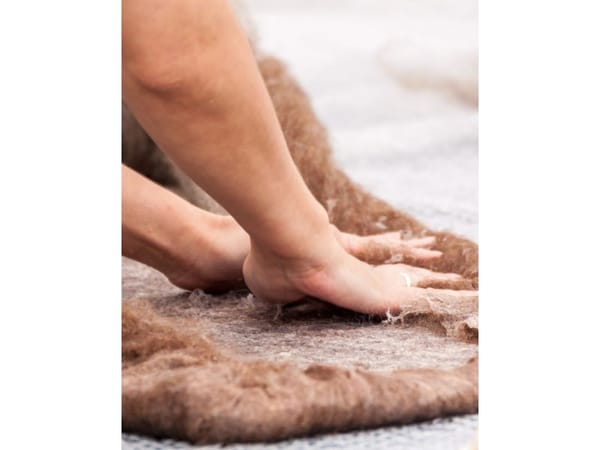
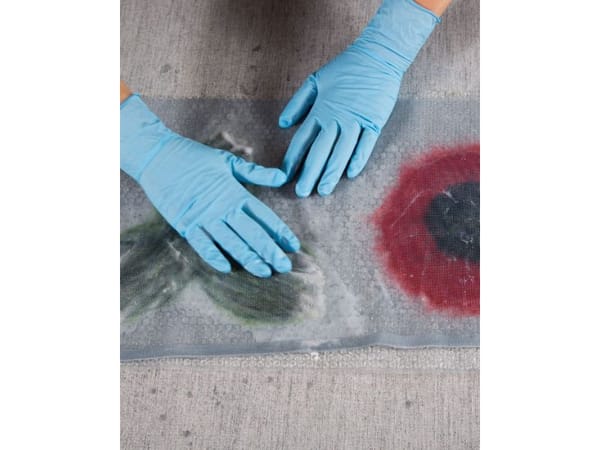
Once the basic shape is felted, techniques such as wet felting can be used to reduce surface fuzz on your needle-felt projects.
This involves slightly dampening the felted item and applying pressure to smooth the needle-felted fibers.
Additionally, tools like a felting brush or a fine-tooth comb can help lay down stray hairs for a cleaner finish.
Learning from Experts: An Account
Engaging with the felting community through workshops or video tutorials on platforms like YouTube can provide valuable insights and tips.
Experienced felters often share their techniques for achieving a smooth finish and can offer personalized advice based on their extensive needle felting journey.
Experimentation and Practice: Recommended Books
Like any craft, needle felting improves with practice.
Experimenting with different wool types, needle sizes, and felting techniques can help you understand what works best for your style and the specific projects you undertake.
Remember, every piece is a step forward in your felting journey.
Needle felting is a joyful time-consuming process. Sometimes starting out with a ball shape, you meticulously transform your soft shapeless wool into the desired needle felted sculpture.
As you admire your creation, you're wondering what you can do to achieve a smooth finish.
Fuzziness in needle felting can be attributed to various factors including the type of wool, needle size, felting technique, and environmental conditions.
By choosing the right materials, maintaining your tools, and refining your felting technique, you can significantly reduce fuzziness and achieve a smoother finish in your projects.
Regular practice and learning from experienced felters will further enhance your skills and enjoyment in this rewarding craft.
Happy Felting!

Q1: What is the best type of wool for beginners to avoid fuzziness?
A1: Medium-grade wools are ideal for beginners as they offer a balance between ease of felting and achieving a smoother finish. As skills improve, experimenting with different types of wool can be beneficial.
Q2: How often should I replace my felting needles?
A2: Replace your needles whenever you notice them becoming dull or if they bend or break. Sharp needles are essential for clean felting and reducing fuzziness.
Q3: Can humidity really affect the outcome of my felting projects?
A3: Yes, low humidity can dry out the wool fibers, making them brittle and more prone to fuzzing. Maintaining a slight moisture in your crafting area or the wool can help keep the fibers supple.


Images Source: Canva, Living Felt, Pinterest, fittobeloved.com

